


This article details the steps to install Oracle database 12c Release 2 on Oracle Linux 7.
You should install the prerequistes before installing Oracle database, chech my article: Install prerequisites for Oracle database 12R2 on Oracle Linux 7
Tables of contents:
- Install prerequisites for Oracle database 12R2 on Oracle Linux 7
- Unzip the software
- Install the Software only
- Create the Listener
- Create the database
1.Install prerequisites for Oracle database 12R2 on Oracle Linux 7:
To install all the prerequistes, check my blog: Install prerequisites for Oracle database 12R2 on Oracle Linux 7
2. Unzip the software:
Step 1: Copie the software to your home directory or a specific location, and in my case under /home/oracle
![]()
Step 2: Uncompress the zipped software:
$ unzip linuxx64_12201_database.zip
3. Install the Software only:
Check the database software directory and execute runInstaller:
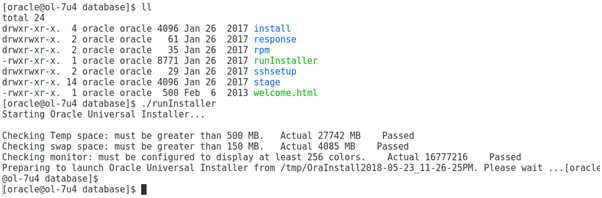
Step 1: execute the script runInstaller

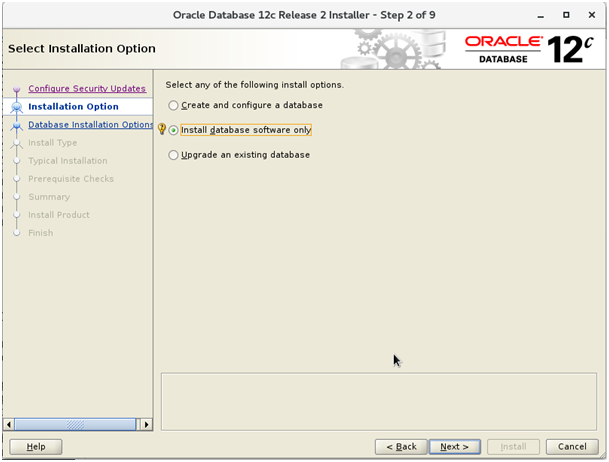
Step 2: Install software only
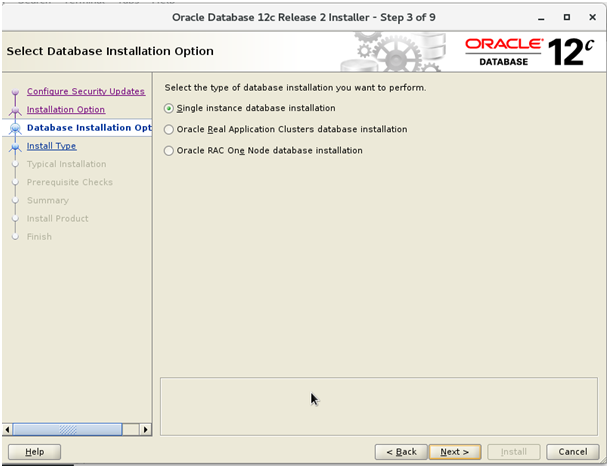
Step 3: Single instance
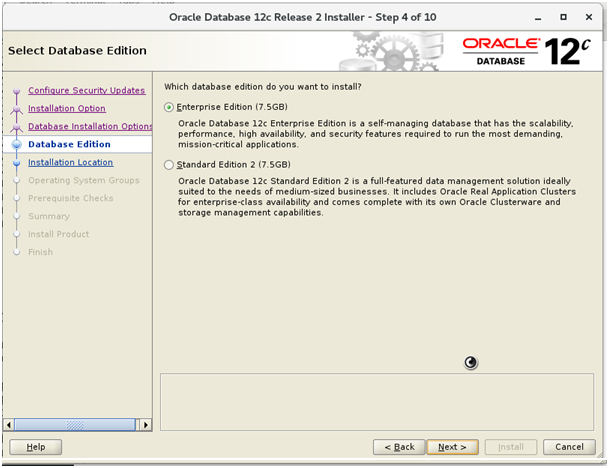
Step 4: I am going to choose Entreprise Edition.
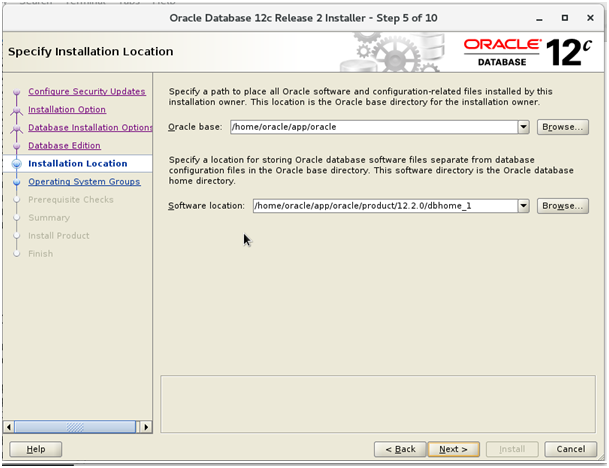
Step 5: In my case, the environment variable are:
ORACLE_BASE=/home/oracle/app/oracle
ORACLE_HOME=/home/oracle/app/oracle/product/12.2.0/dbhome_1
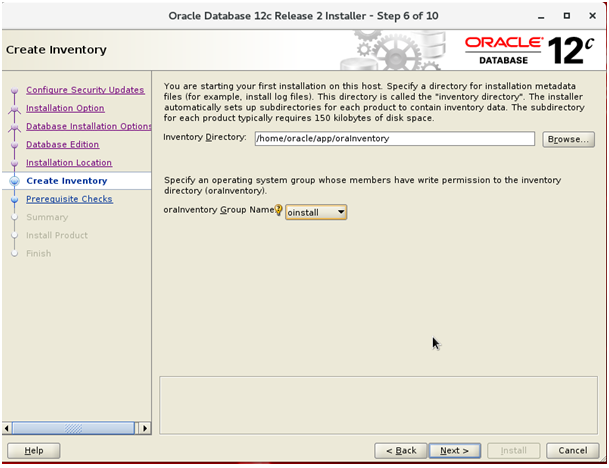
Step 6: Inventory Directory
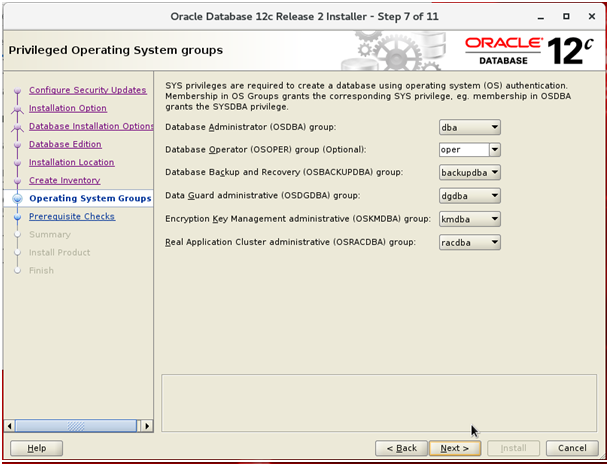
Step 7: Privileged operating system groups
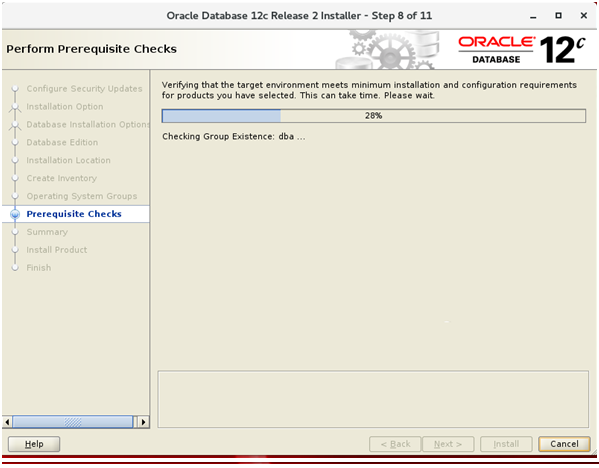
Step 8: Prerequiste checks
Step 9: Summary

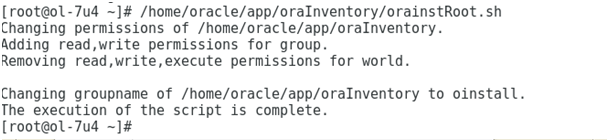
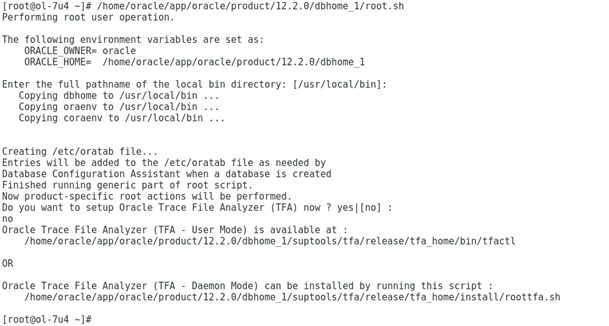
Step 10: Run TWO scripts as ROOT
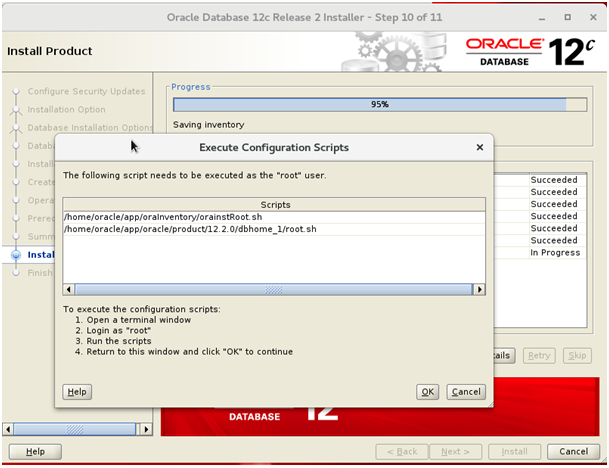
Step 10.a: Run the first script with the ROOT user.
Step 10.b: Run the second script with the ROOT user.
Step 11: The end of the software installation

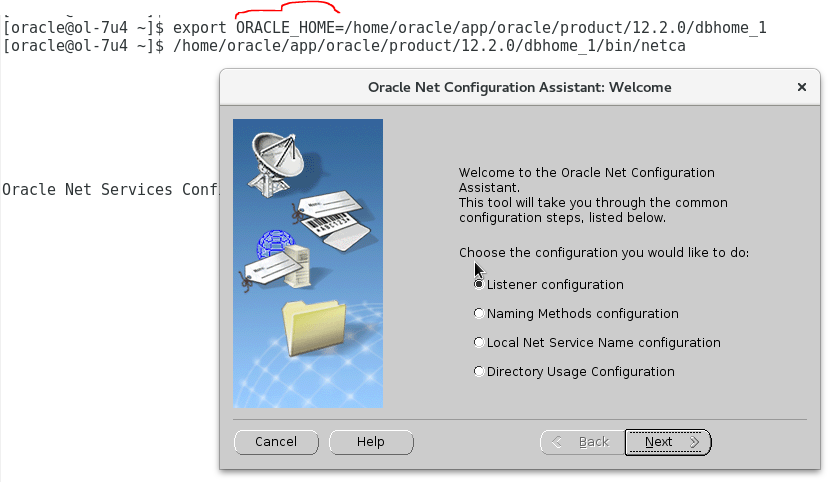
4. Create the Listener:
Set the Oracle Home the environment variable, and run the NETCA tools:
The creation of the Listener is the same as Oracle database version 10g, 11g and 12cR1.
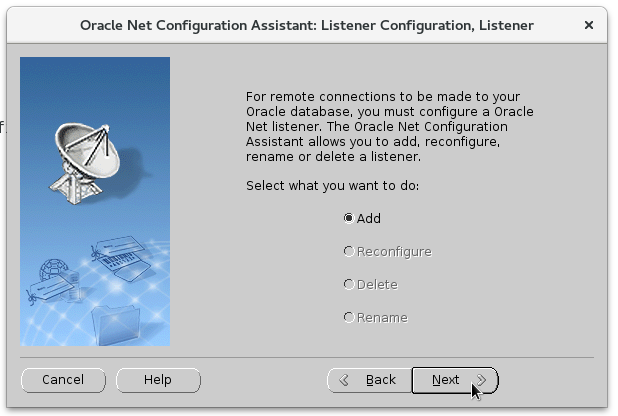
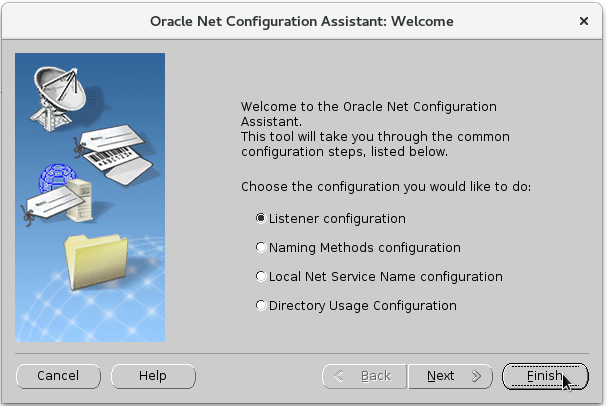
Step 1: Run NETCA
Step 2: Add new Listener
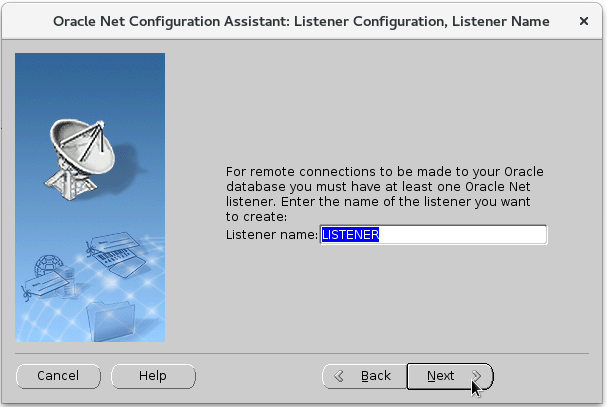
Step 3: Default Name
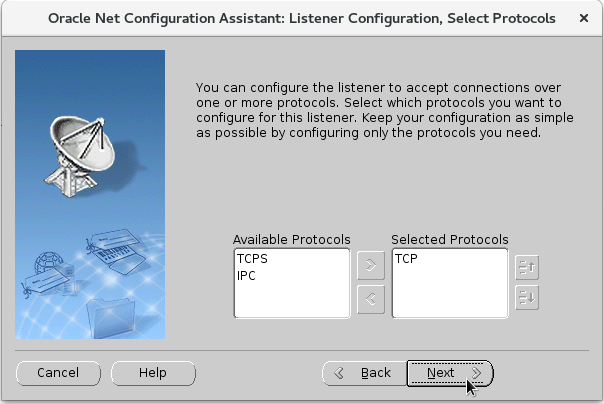
Step 4: TCP protocols
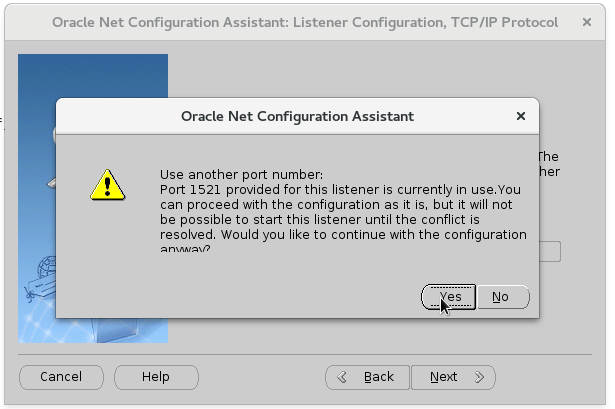
Step 5.a: The default port number

Step 5.b: The default port number
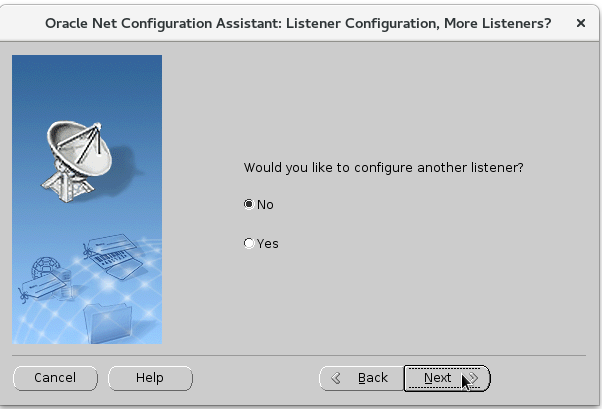
Step 6: You can create an other Listener, in my case just No need.
Step 7: Validate the creation
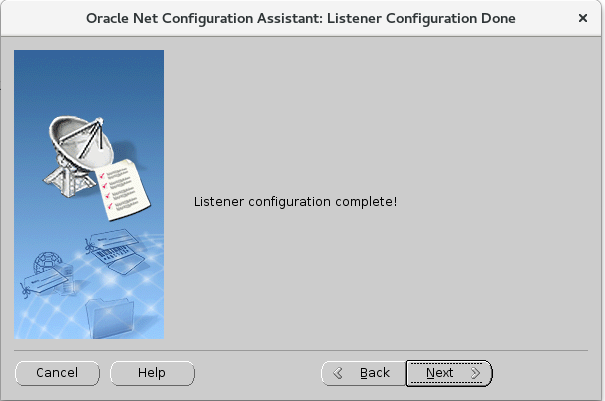
Step 8: Finish
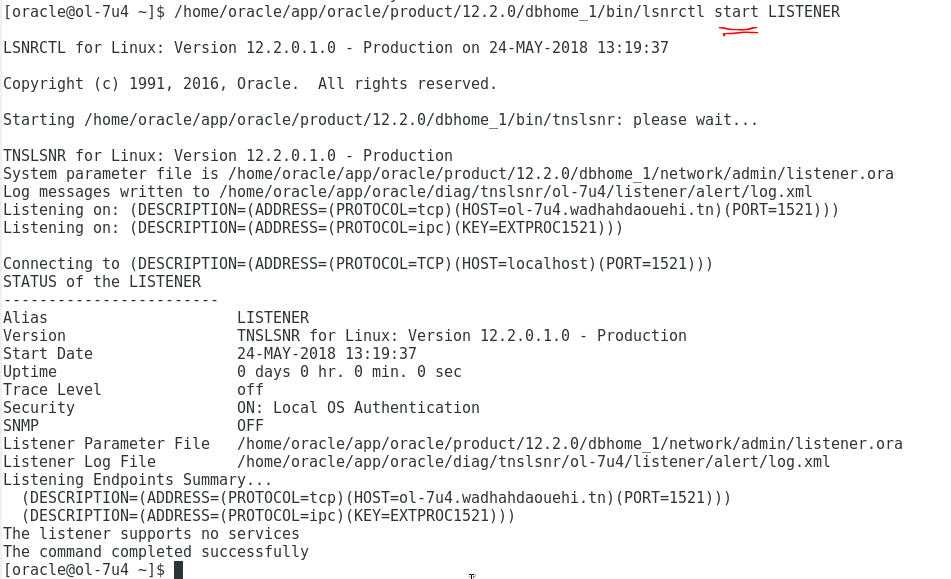
Step 9: Start the listener with tool LNSRCTL.
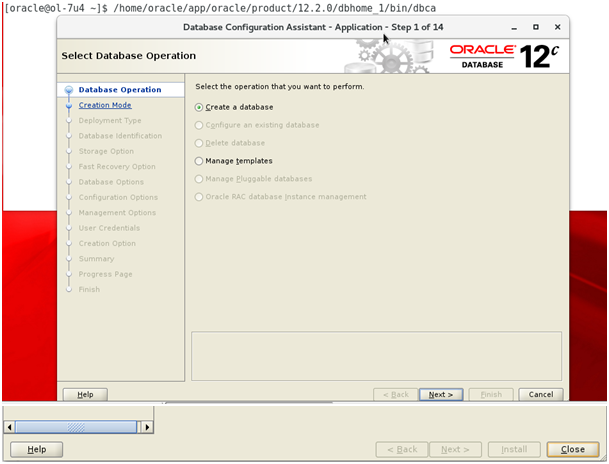
5. Create the database:
To create a database, we are going to use the DBCA tools:
Step 1:Run DBCA
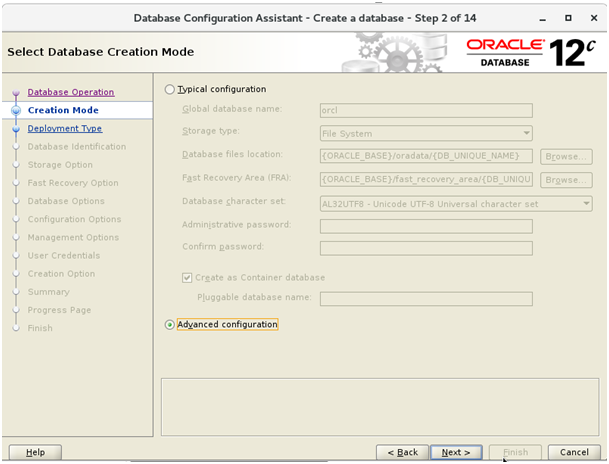
Step 2:Advanced Configuration
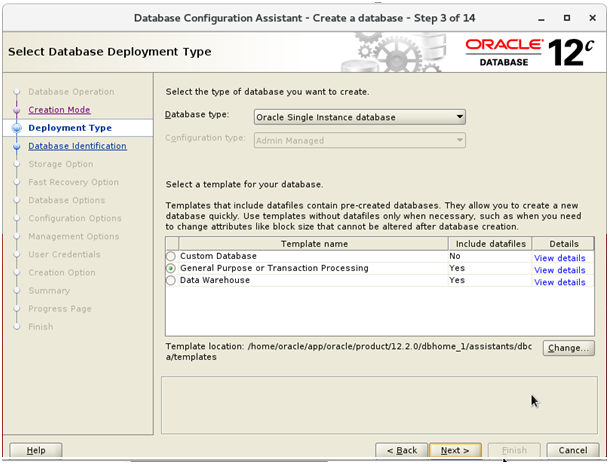
Step 3:OLTP database
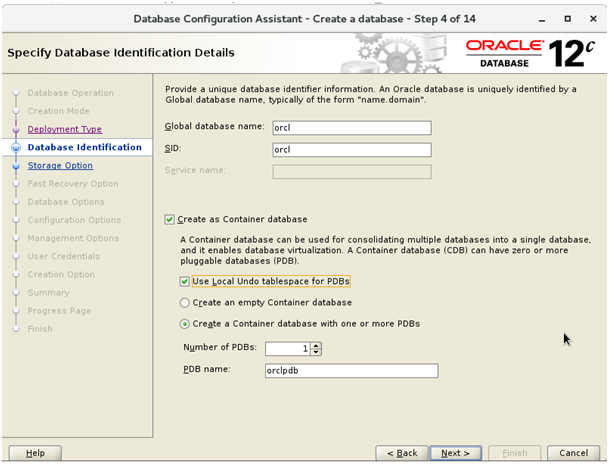
Step 4: Database Container Name ORCL with one Pluggable database orclpdb.
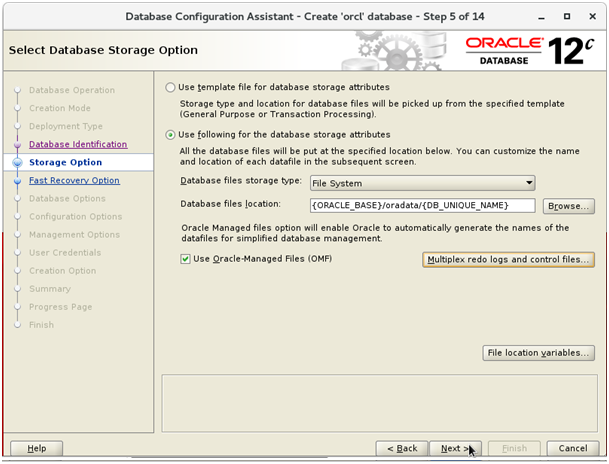
Step 5: Choose destination of data Files
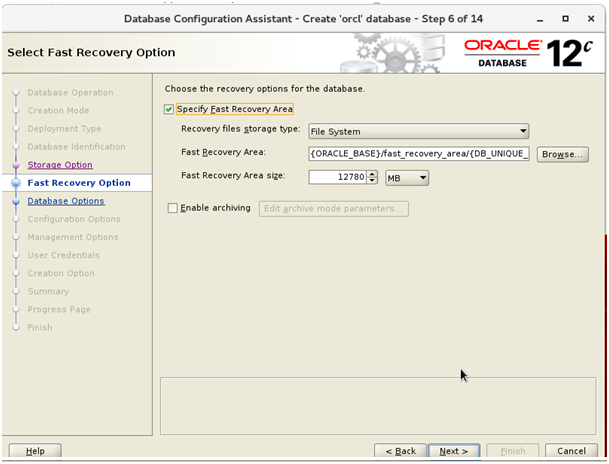
Step 6: Enable The Fast Recovery Area:
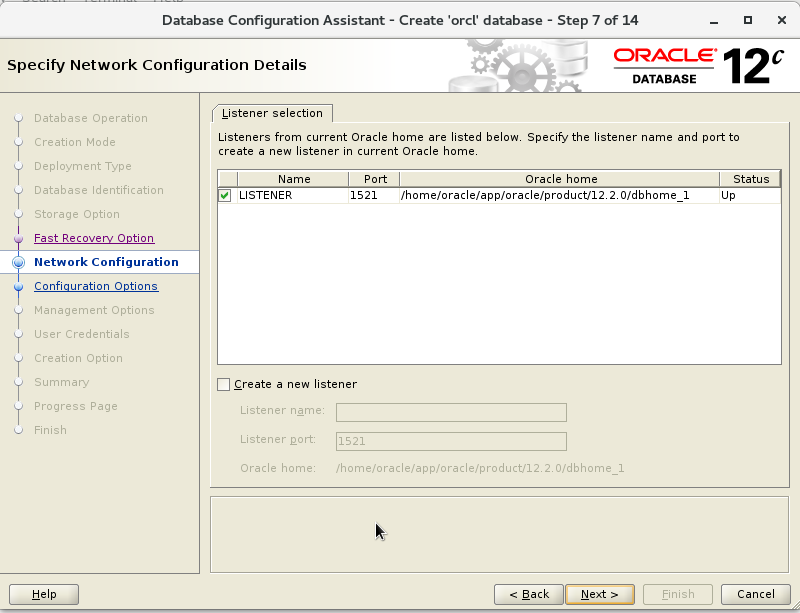
Step 7: Enable Listener
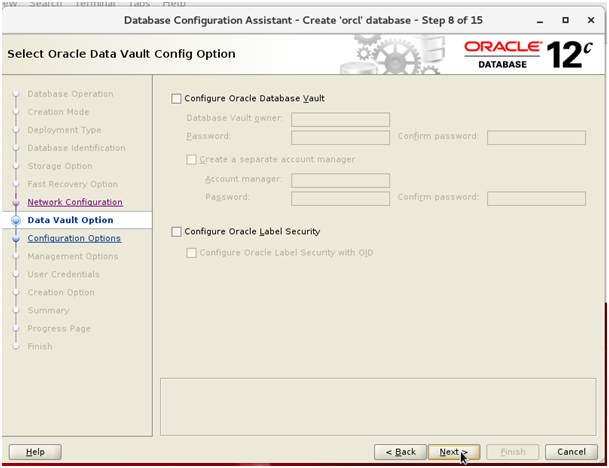
Step 8: Oracle Data Vault
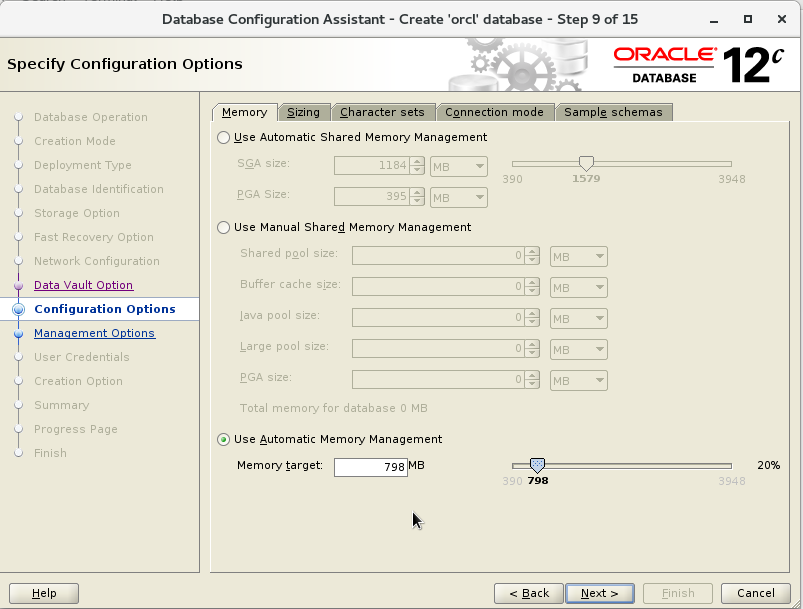
Step 9: In my case, I am using the Automatic Memory Management.
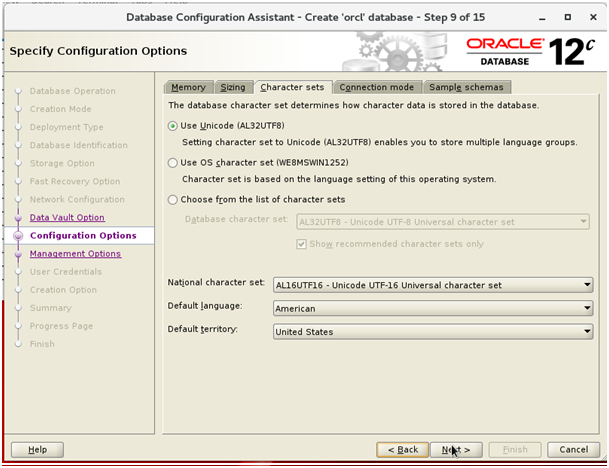
Step 10: Choose the caracter Set
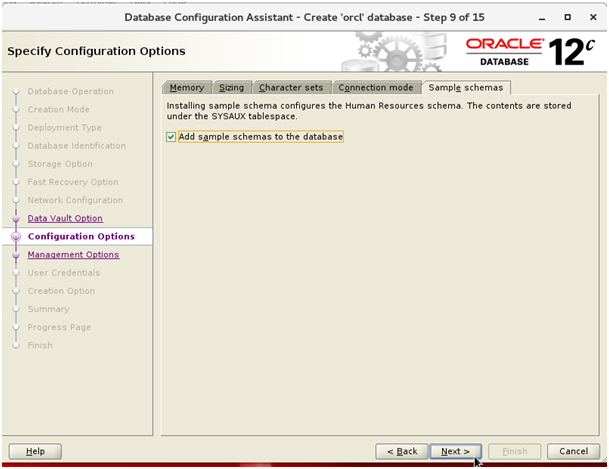
Step 11: In my case, I am adding the sample schemas and this is not recommanded in production envirement.
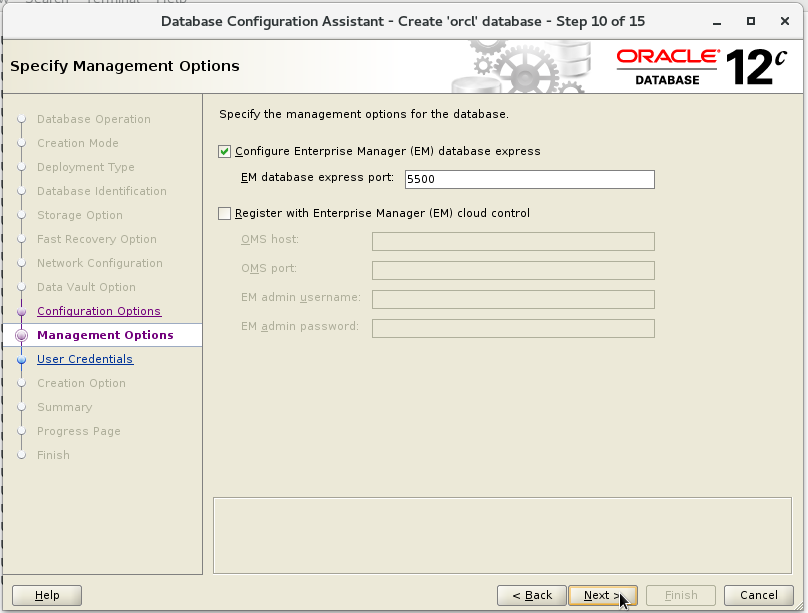
Step 12: Enable the Entreprise Manager Express
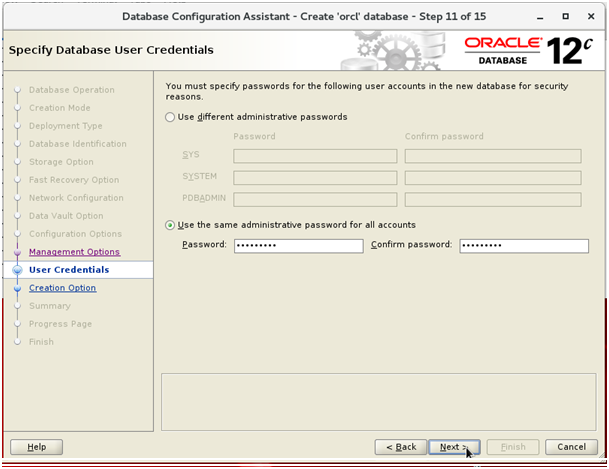
Step 13: Add the password for users
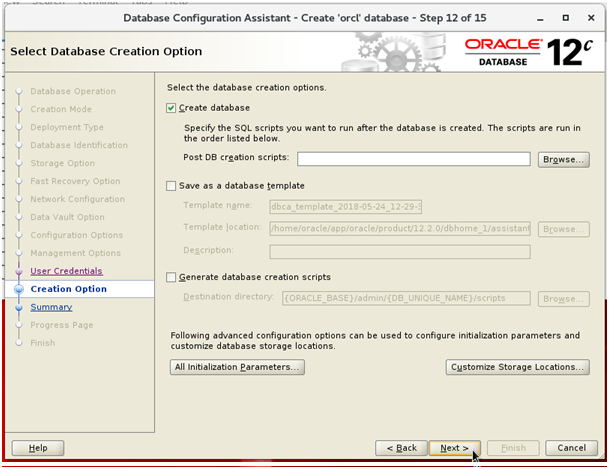
Step 14: Create the database:
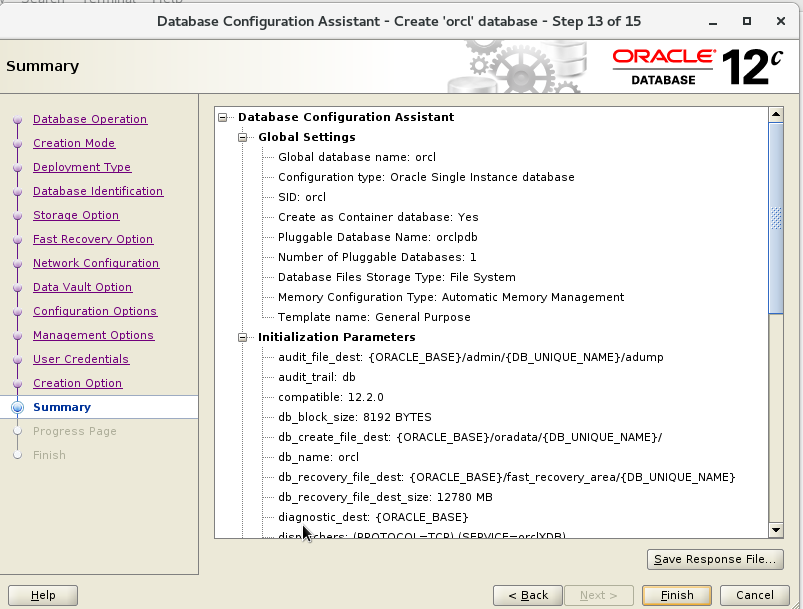
Step 15: Summary :
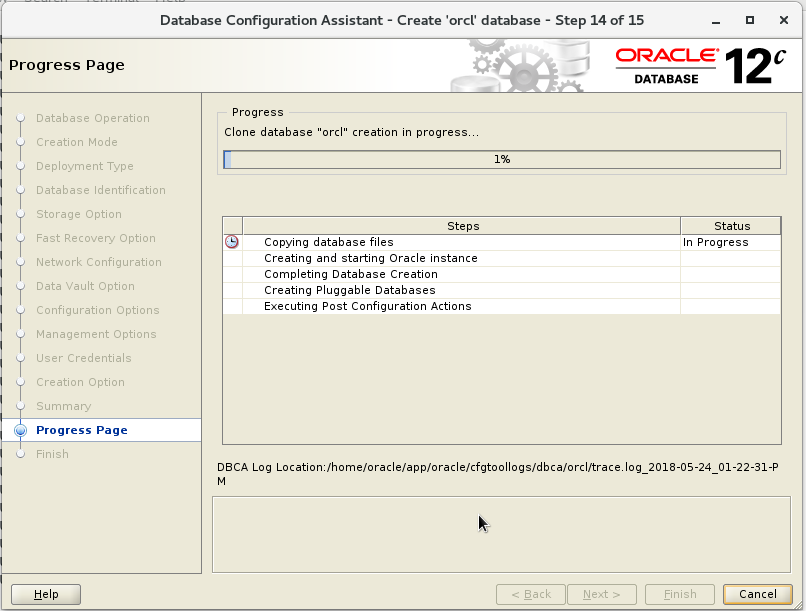
Step 16: Begin the Creation:
Step 17: After the complete of the database creation you can access to the MAnager Express:

Conclusion:
This articles explaines step by step to install the Oracle database 12c release 2 on Oracle Linux


Pingback: Enable Archivelog on Oracle database 12R2 – Wadhah DAOUEHI