This article explains the steps to install and create an Oracle database 12cR1 RAC 3 nodes on Oracle Linux 6.10.
Tables of contents:
- Installing Oracle Grid Infrastructure 12cR1 on 3 nodes
- Installing Oracle Database 12cR1 on 3 nodes software only
- Create a RAC Database ORCL on 3 nodes
1. Installing Oracle Grid Infrastructure 12cR1 on 3 nodes:
2. Installing Oracle Database 12cR1 on 3 nodes software only
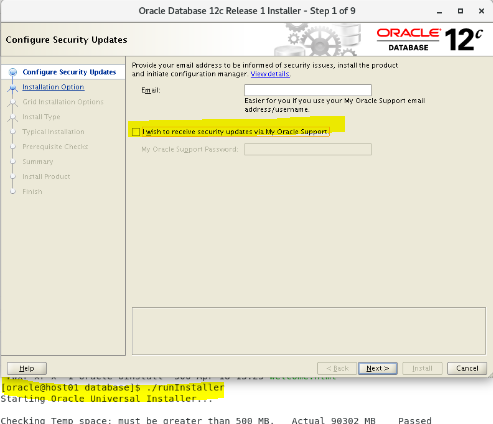
- Step 1 : Begin installation with runInstaller
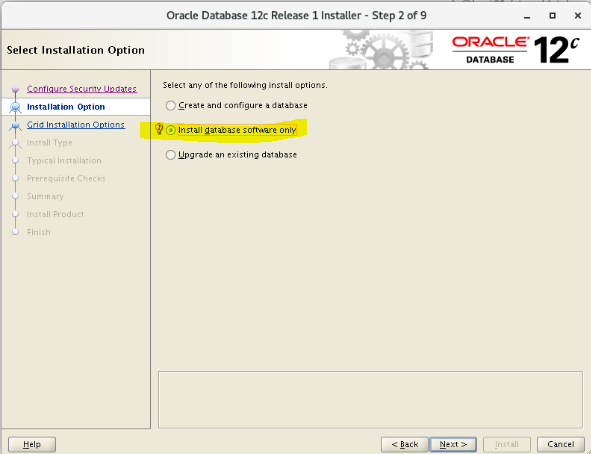
- Step 2 : Install software only
- Step 3 : Oracle Real Application Clusters database Installation

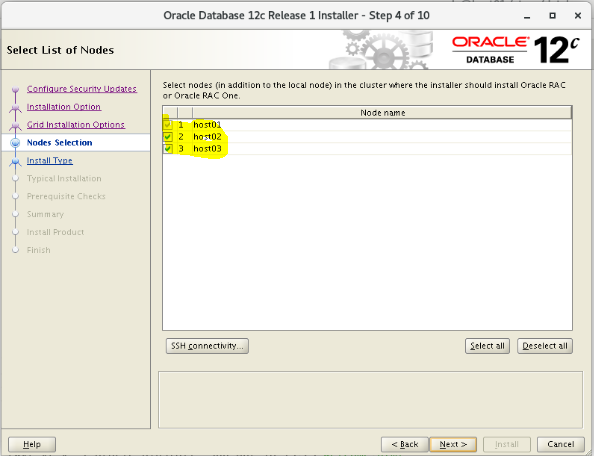
- Step 4 : Select list of nodes ; 3 hosts
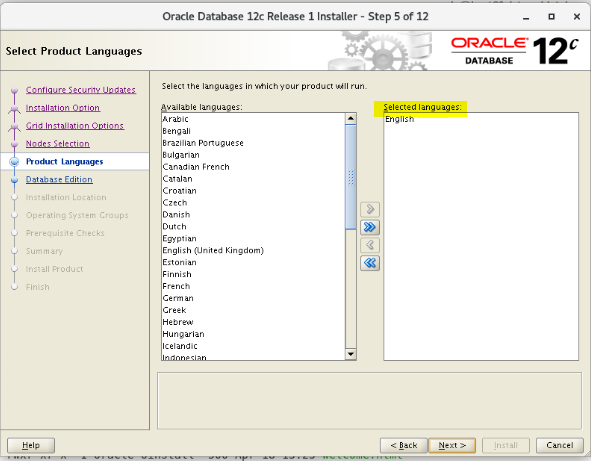
- Step 5 : Select Product Languages
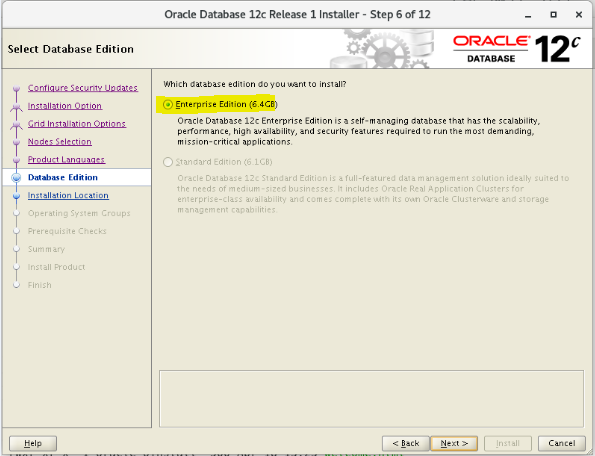
- Step 6 : Select Database Edition
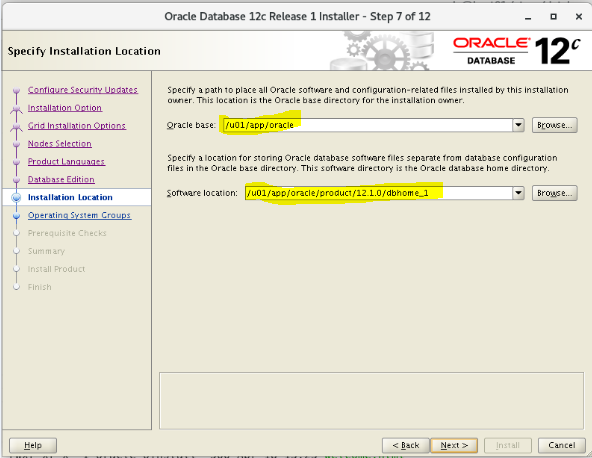
- Step 7 : specify installation location
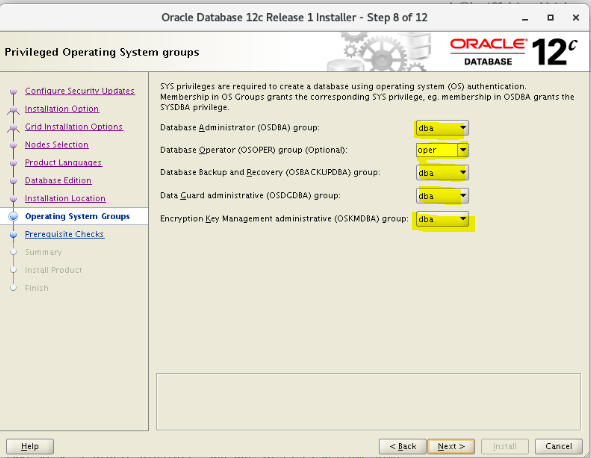
- Step 8 : Privileged operating system groups
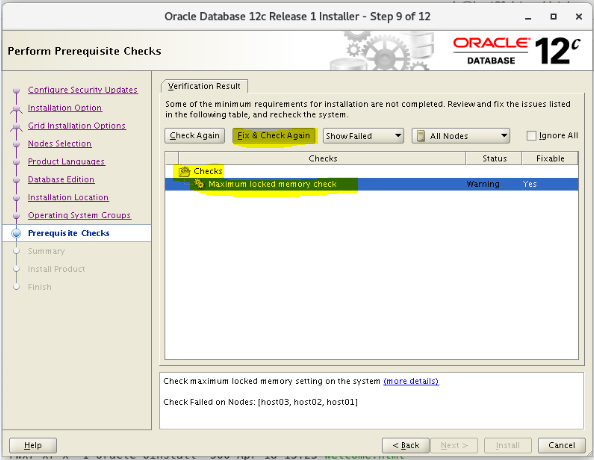
- Step 9 : Prerequisite Checks
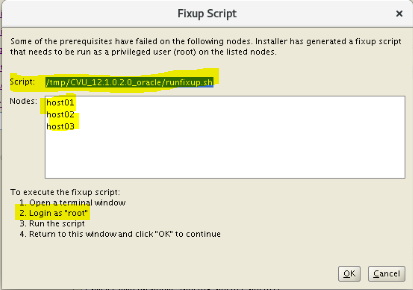
- Step 10 : Run the Fixed root script on 3 nodes as root user
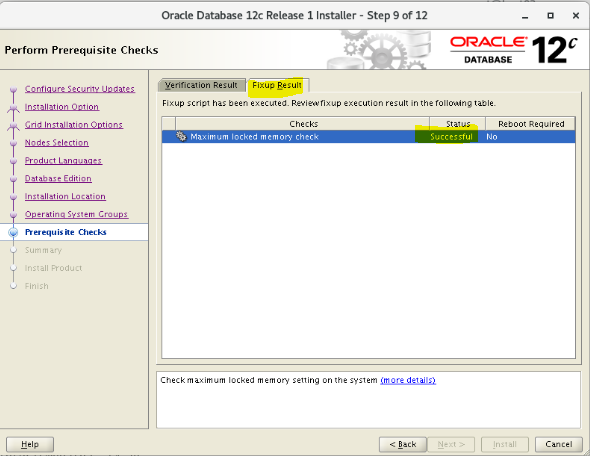
- Step 11 : Successful fixup result
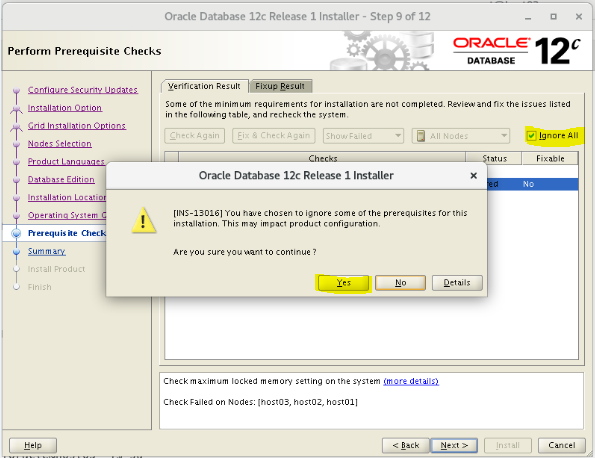
- Step 12 : Select ignore all
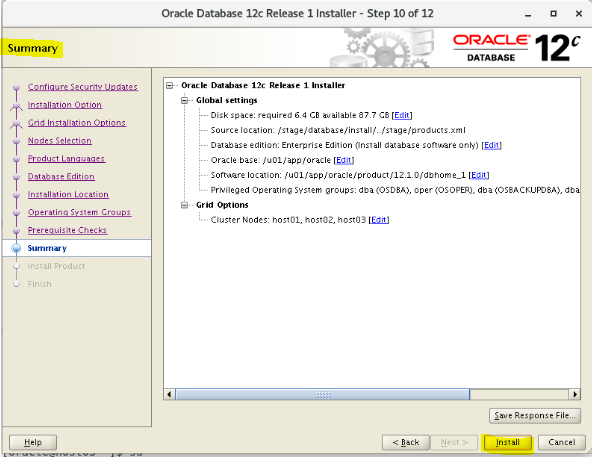
- Step 13 : Install the Software
- Step 14 : Run the root scripts on the 3 hosts:
# /u01/app/oracle/product/12.1.0/dbhome_1/root.sh
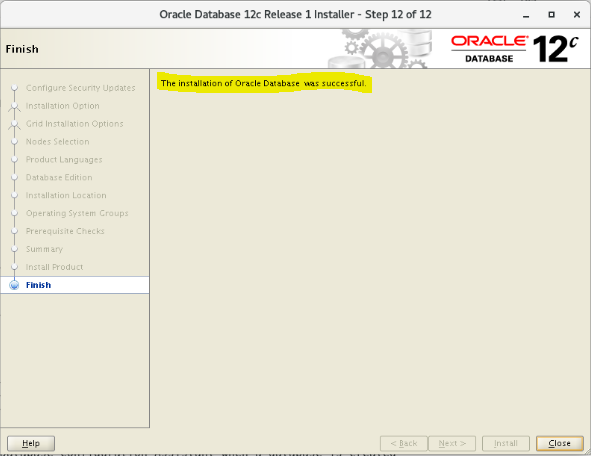
- Step 15 : End of software installtion :
3. Create a RAC Database ORCL on 3 nodes :
- Step 1 : DBCA to create a database

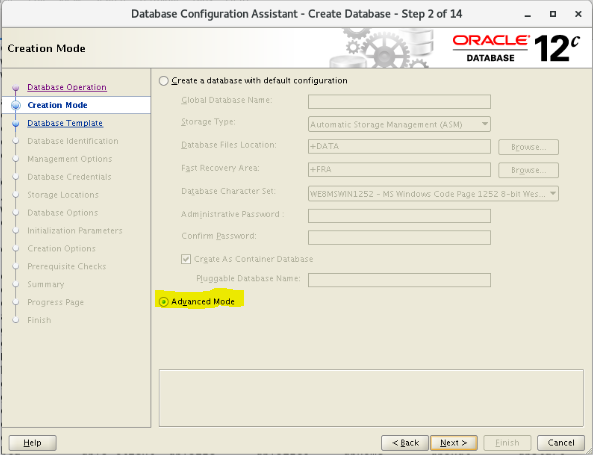
- Step 2 : Advanced mode
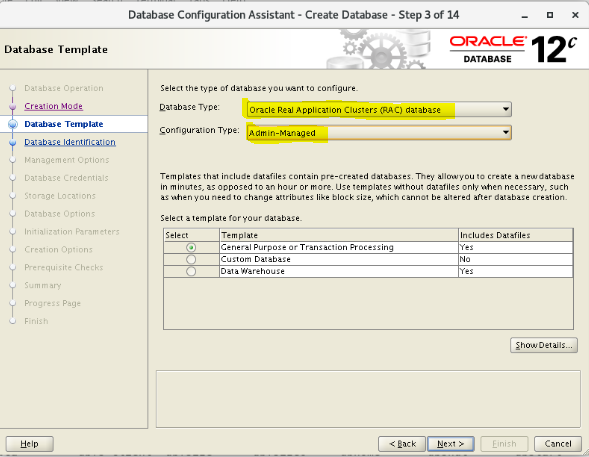
- Step 3 : Configuration Type : Admin-Managed
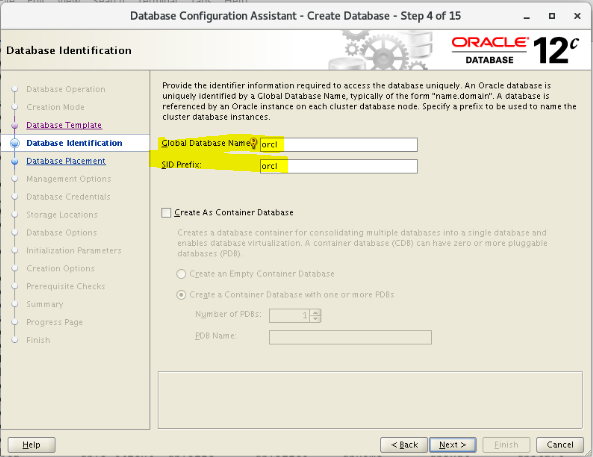
- Step 4 : Database name ORCL
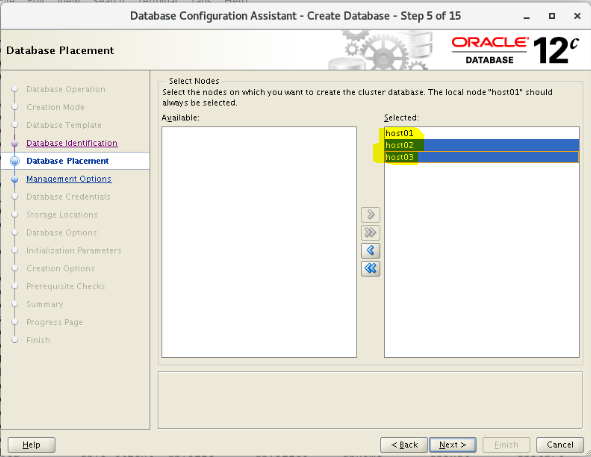
- Step 5 : Select 3 hosts
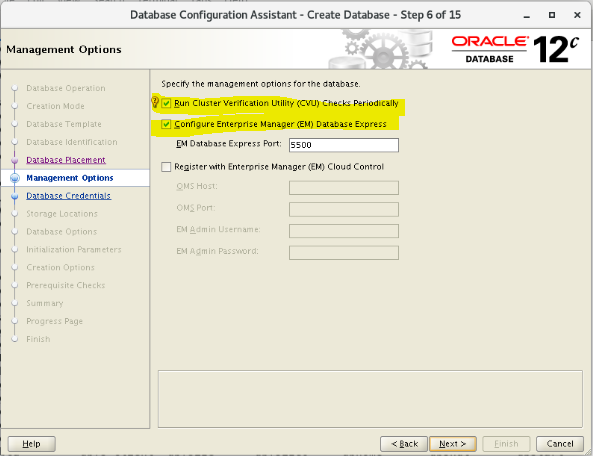
- Step 6 : Management options
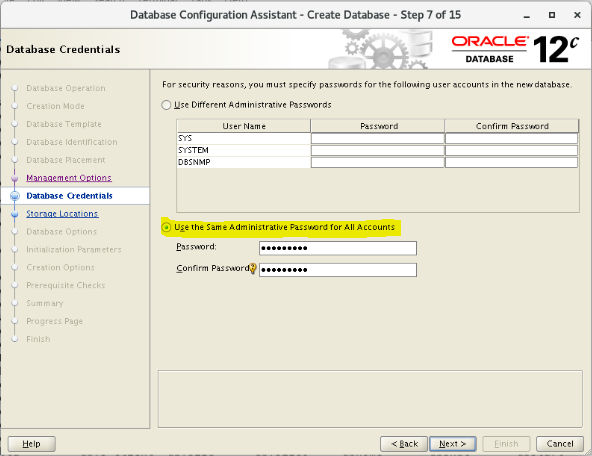
- Step 7 : Database credentials
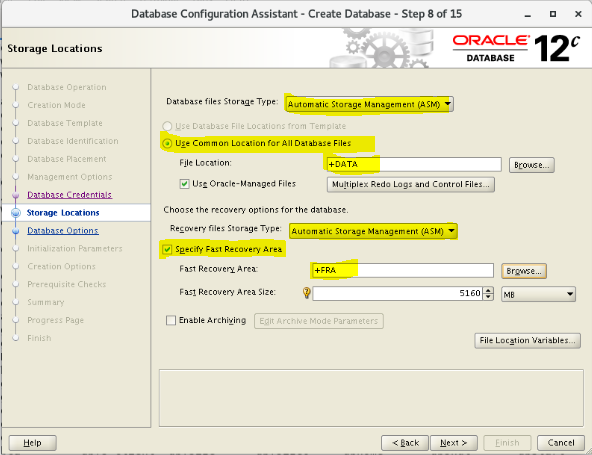
- Step 8 : Storage Locations : Data files in +DATA and Recovery Area in +FRA
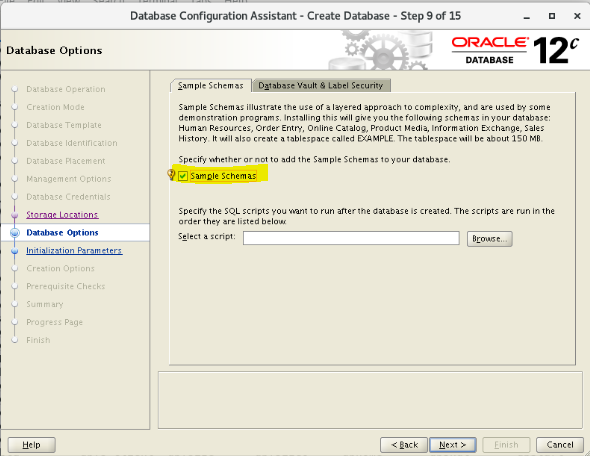
- Step 9 : Database options
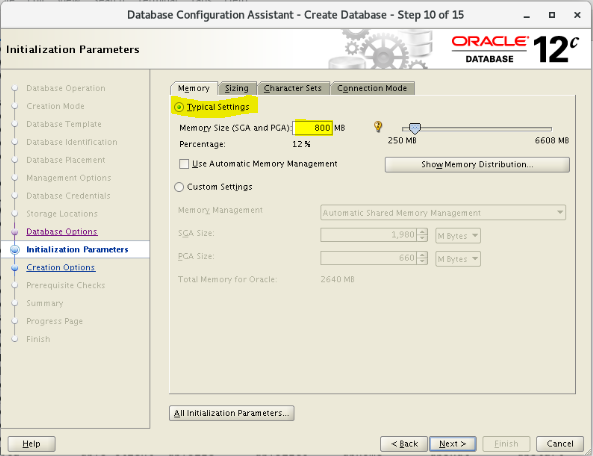
- Step 10 : Memory Target
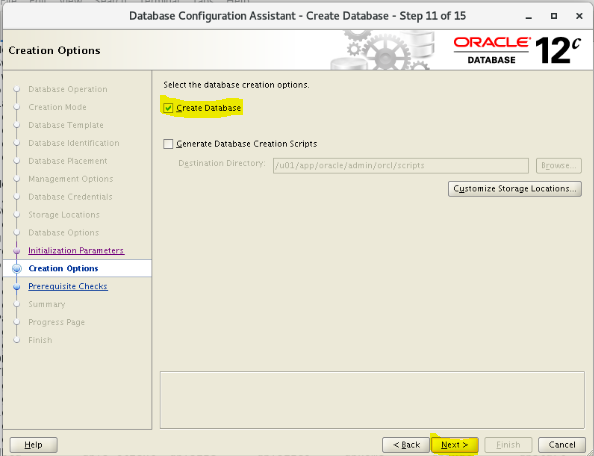
- Step 11 : Set creation databases
- Step 12 : Begin the creation process
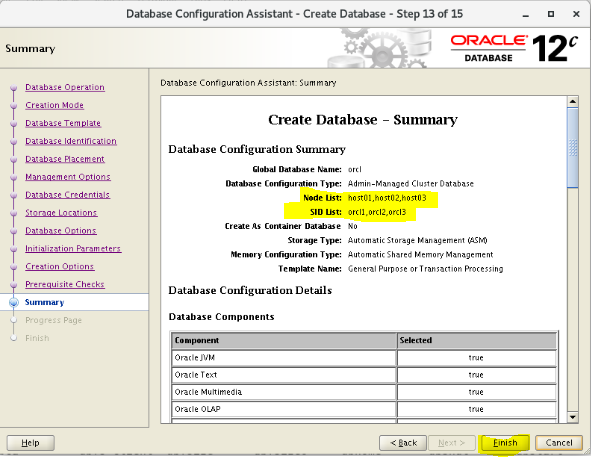
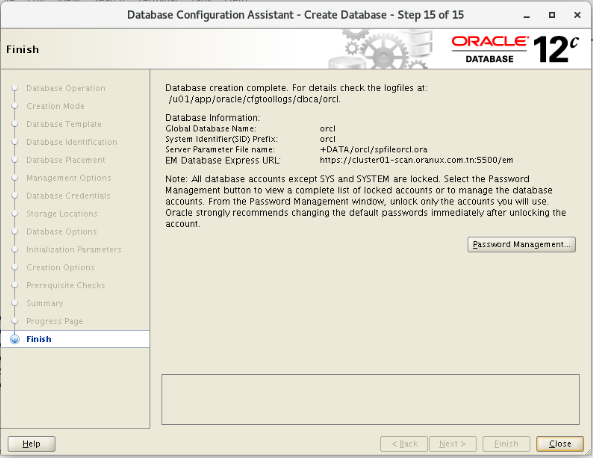
- Step 13 : Finish creation
4. Check the database resource :
- Check the instance name by hostname.
SQL> select instance_name,host_name from gv$instance;
 INSTANCE_NAME     HOST_NAME

 orcl1         host01.oranux.com.tn
 orcl3         host03.oranux.com.tn
 orcl2         host02.oranux.com.tn
- Check the resource status of our database
$ crsctl status resource ora.orcl.db
 NAME=ora.orcl.db
 TYPE=ora.database.type
 TARGET=ONLINE          , ONLINE          , ONLINE
 STATE=ONLINE on host01, ONLINE on host02, ONLINE on host03
- Check the database configuration
$ srvctl config database -d orcl
 Database unique name: orcl
 Database name: orcl
 Oracle home: /u01/app/oracle/product/12.1.0/dbhome_1
 Oracle user: oracle
 Spfile: +DATA/ORCL/PARAMETERFILE/spfile.292.1009714887
 Password file: +DATA/ORCL/PASSWORD/pwdorcl.276.1009713979
 Domain:
 Start options: open
 Stop options: immediate
 Database role: PRIMARY
 Management policy: AUTOMATIC
 Server pools:
 Disk Groups: FRA,DATA
 Mount point paths:
 Services:
 Type: RAC
 Start concurrency:
 Stop concurrency:
 OSDBA group: dba
 OSOPER group: oper
 Database instances: orcl1,orcl2,orcl3
 Configured nodes: host01,host02,host03
 Database is administrator managed
Conclusion:
This articles lists the steps to install Oracle Database 12cR1 RAC 3 Nodes on Oracle Linux 6u10.